

I am currently serving in the stake young women presidency. Last night we invited the young women presidents from each ward, our yw camp director, and our priesthood leaders to enjoy a meal, an overview of the coming year, and join in a discussion/share. We as a presidency would have loved to have had more time with them. Such an incredible group with fabulous ideas, as well as great questions and insights pertaining to the young women program and those we have been called to serve.
*
I put together a 2013 youth theme gift (have you noticed it is being referred to as "youth theme" instead of "mutual theme"?) for each ward in our stake. I used the image I created when the theme was first announced.
*
 *
*
I took a few minutes to explain why I chose Moroni instead of the temple spires. Unfortunately my nerves took over and I am not sure what I actually said. Why does that happen?!
*
Anyways, in a nutshell, this is the idea I was trying to get across:
*
I love the image of Moroni, the capstone on so many temples throughout the world. As he stands there, his head is held high and his trumpet is sounding. Sharing with others the great and marvelous message of the gospel.
*
This is what I personally feel the Lord wants us to do. Standing in holy places, standing tall as we do. Taking every opportunity to share the gospel of Jesus Christ with others, whether it be through our words, our choices, our service, etc.
*
I encourage you to read this true story: To Touch An Angel, Friend, June 2002. Such a sweet story of a young girl, Louisa, and an experience she had at the time the Salt Lake Temple was finally finished.
*
"Louisa grabbed Papa’s arm and hugged it, she was so happy. They inched along the scaffolding until they reached the tallest spire. On top of it was a ball. The top half of this ball was the capstone they had seen President Woodruff place earlier in the day. Standing on top of the ball was the statue of Moroni."
__________
*
What is a capstone?
The Book of Mormon is the keystone of our religion, the Doctrine and Covenants is the capstone.
The Book of Mormon and Doctrine and Covenants, President Ezra Taft Benson, Ensign, May 1987. "The Book of Mormon brings men to Christ. The Doctrine and Covenants brings men to Christ’s kingdom, even The Church of Jesus Christ of Latter-day Saints."
I decided to do a little research on my own this week and learned a little about capstone projects.
To begin with, I am not a crafter. I do not confess to be a pro here, sharing tips and technique. In fact, I believe this was the first time I have actually used Mod Podge in my own home. Luckily, I can figure things out in my mind, step-by-step in fact... this is one of the talents I've been given. I can visualize and simply problem solve along the way.
*
This project started with the idea of vinyl on tile or vinyl on glass. But, this has been done in the past (or so I was told). So, I decided to transfer the image to canvas (and actually prepared the canvas). I did a practice run on a piece of a black project board. I used glossy Mod Podge, then traced a portion of the scripture in gold permanent marker, as well as a few gold accents, including rays from the capstone Moroni is standing on. I personally, like the rays.
*
 *
*
But, due to my over thinking and worrying if anybody else would like the gold accents and the canvas, I started doubting my decision. I do this all the time! I worry, I apologize, I over explain, I doubt my own likes and creations. This is one of my goals this year... to stop it!
*
So, anyways... in the middle of the night I saw the image on wood. With an antique/vintage feel. Aged with gold. After discussing it with my daughters, the choice was clear. Whew! :)
*
The following is more for me and my poor memory. :) If it helps anyone else, fabulous!
*


*
I put together a 2013 youth theme gift (have you noticed it is being referred to as "youth theme" instead of "mutual theme"?) for each ward in our stake. I used the image I created when the theme was first announced.
*

I took a few minutes to explain why I chose Moroni instead of the temple spires. Unfortunately my nerves took over and I am not sure what I actually said. Why does that happen?!
*
Anyways, in a nutshell, this is the idea I was trying to get across:
*
I love the image of Moroni, the capstone on so many temples throughout the world. As he stands there, his head is held high and his trumpet is sounding. Sharing with others the great and marvelous message of the gospel.
*
This is what I personally feel the Lord wants us to do. Standing in holy places, standing tall as we do. Taking every opportunity to share the gospel of Jesus Christ with others, whether it be through our words, our choices, our service, etc.
*
I encourage you to read this true story: To Touch An Angel, Friend, June 2002. Such a sweet story of a young girl, Louisa, and an experience she had at the time the Salt Lake Temple was finally finished.
*
"Louisa grabbed Papa’s arm and hugged it, she was so happy. They inched along the scaffolding until they reached the tallest spire. On top of it was a ball. The top half of this ball was the capstone they had seen President Woodruff place earlier in the day. Standing on top of the ball was the statue of Moroni."
__________
*
What is a capstone?
The capstone is the last stone placed on the top of a building or edifice, and can be placed in a dedication of such a building or edifice as to signify that it is finished and the work is done.
*
As a side note: I also learned something interesting this past Sunday...The Book of Mormon is the keystone of our religion, the Doctrine and Covenants is the capstone.
The Book of Mormon and Doctrine and Covenants, President Ezra Taft Benson, Ensign, May 1987. "The Book of Mormon brings men to Christ. The Doctrine and Covenants brings men to Christ’s kingdom, even The Church of Jesus Christ of Latter-day Saints."
The Doctrine and Covenants - The Capstone of Our Religion, Elder L Tom Perry
*I decided to do a little research on my own this week and learned a little about capstone projects.
*
What is a capstone project?
It is a project that accumulates all of your years of learning into one large final project that highlights a subject of interest to you.
This made me think of those young women who have completed their Personal Progress, received their Young Womanhood Recognition and are now striving to received an Honor Bee. Their 40 hour project could be viewed as their "capstone project". Just a thought. :)
__________
*
THE PROJECT: Step-By-StepThis made me think of those young women who have completed their Personal Progress, received their Young Womanhood Recognition and are now striving to received an Honor Bee. Their 40 hour project could be viewed as their "capstone project". Just a thought. :)
__________
*
To begin with, I am not a crafter. I do not confess to be a pro here, sharing tips and technique. In fact, I believe this was the first time I have actually used Mod Podge in my own home. Luckily, I can figure things out in my mind, step-by-step in fact... this is one of the talents I've been given. I can visualize and simply problem solve along the way.
*
This project started with the idea of vinyl on tile or vinyl on glass. But, this has been done in the past (or so I was told). So, I decided to transfer the image to canvas (and actually prepared the canvas). I did a practice run on a piece of a black project board. I used glossy Mod Podge, then traced a portion of the scripture in gold permanent marker, as well as a few gold accents, including rays from the capstone Moroni is standing on. I personally, like the rays.
*

But, due to my over thinking and worrying if anybody else would like the gold accents and the canvas, I started doubting my decision. I do this all the time! I worry, I apologize, I over explain, I doubt my own likes and creations. This is one of my goals this year... to stop it!
*
So, anyways... in the middle of the night I saw the image on wood. With an antique/vintage feel. Aged with gold. After discussing it with my daughters, the choice was clear. Whew! :)
*
The following is more for me and my poor memory. :) If it helps anyone else, fabulous!
*

*
I found the wood at Michaels. I had to sand them a bit.
*

*
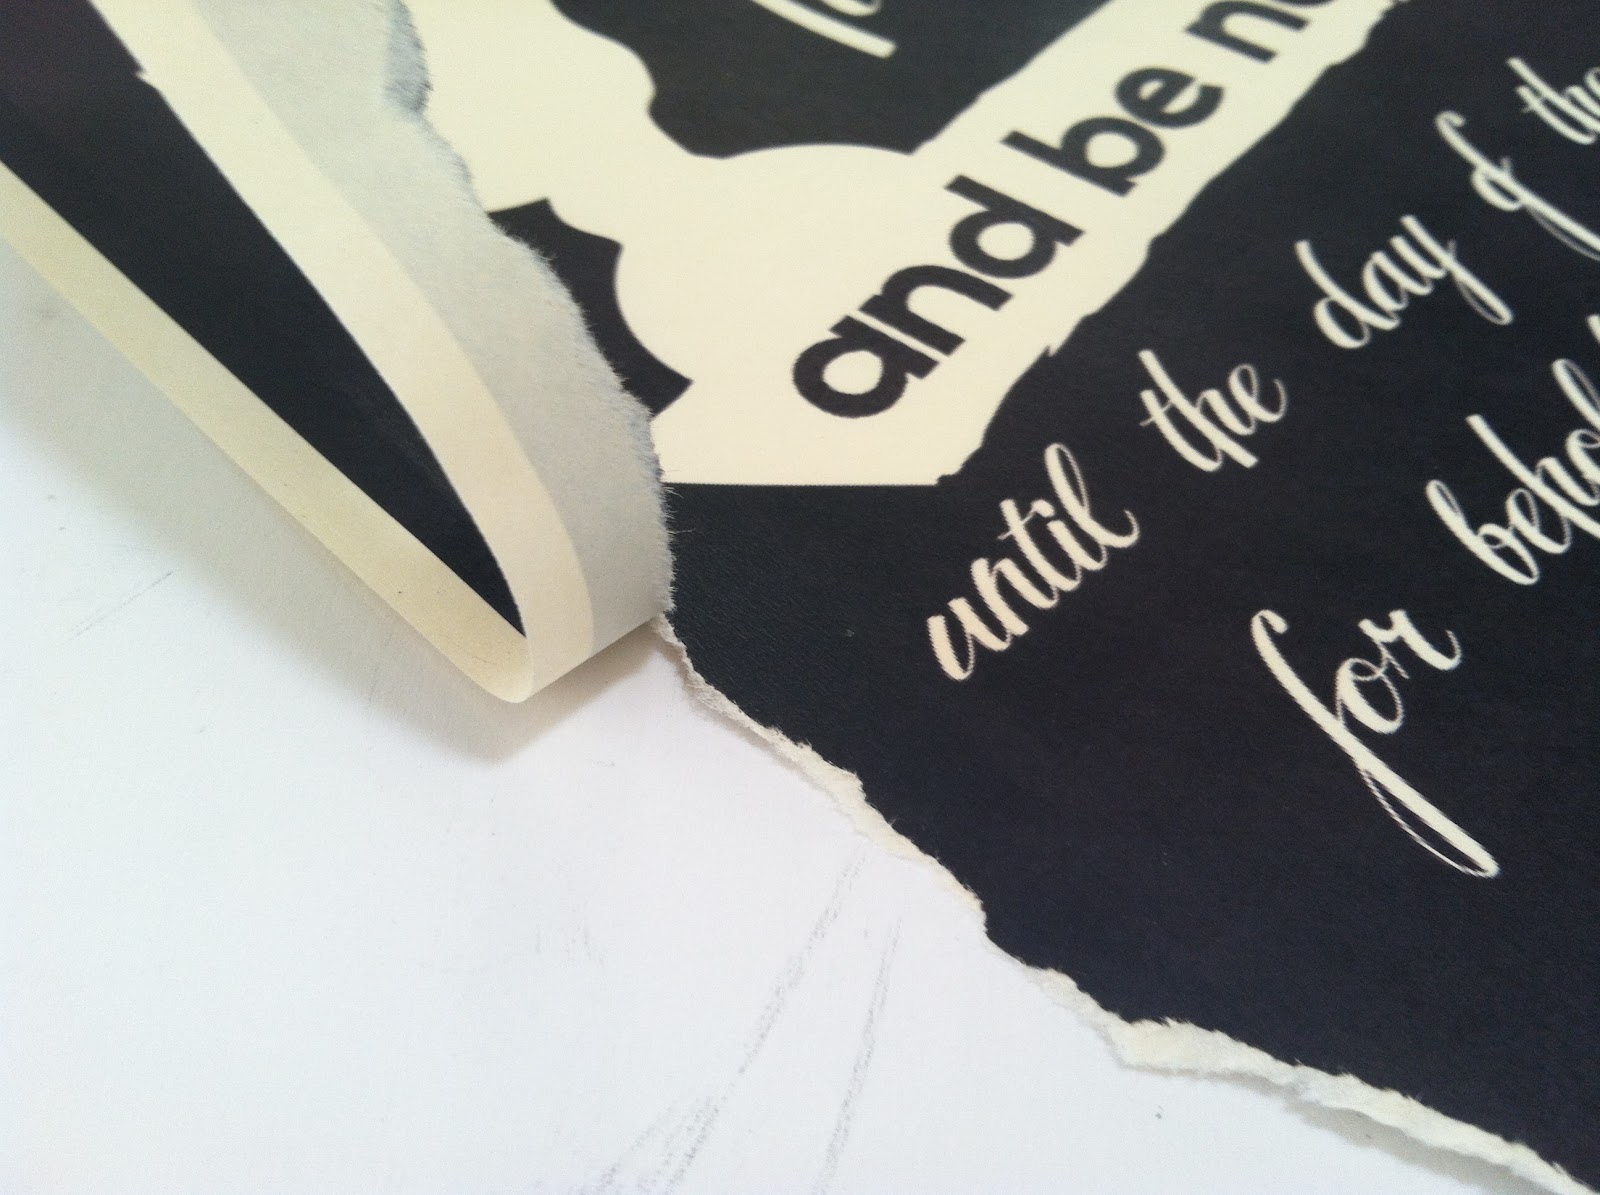
I took the file (SD card) into our local OfficeMax and had them print the image onto cream colored paper (not card stock). It was less expensive at 10 cents a print - then it would have been to print them out at home and go through a couple blank ink cartridges.
*
I laid the paper over the wood, centering the image, and pressed along the edges. (above) Then I gently tore around the line I had made. (below)
*


*
I spray painted the edges of the wood a shiny gold.
My hope was that it would shine through later...
*

*
Next, I spray painted the entire surface black.
Once it dried, I gave it one more coat.
*

*
Once the paint was dry, I took to the edges with a sanding block.
I used a medium grain.
The gold didn't shine through as much as I had hoped, but it looked good.
*

*
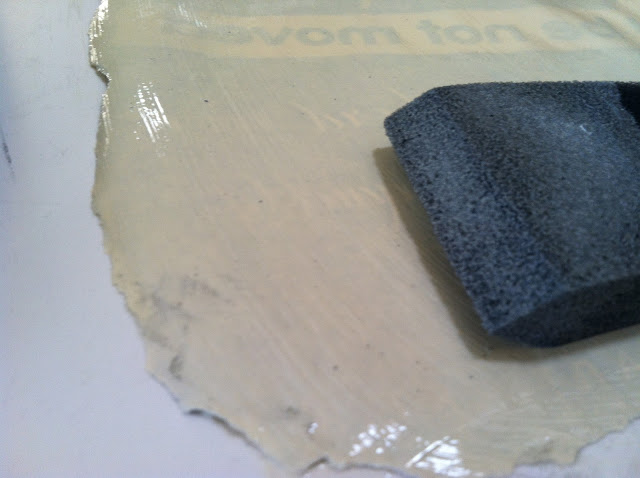
Time to apply the image/paper.
I spread a layer of Mod Podge onto the wood.
*

*
I also spread a layer of Mod Podge onto the back of the image/paper.
*
*
I purchased the Professional Decoupage Tools (above) not knowing what I would actually need. :) I found the roller to be no help at all (I was probably just using it wrong), but loved the squeegee. It made getting the air bubbles out a breeze.
*


*
Once the paper was attached to the wood I brushed on a layer of Antique Matte Mod Podge. My brush strokes went from top to bottom on the first coat and side to side on the second coat. I was hoping to create a linen feel.
*


*
I used a damp cloth to clean up the edges.
*

*
While the second coat was drying, I prepared ribbon and tags.
*


*
Voila!
*

No comments:
Post a Comment
Note: Only a member of this blog may post a comment.